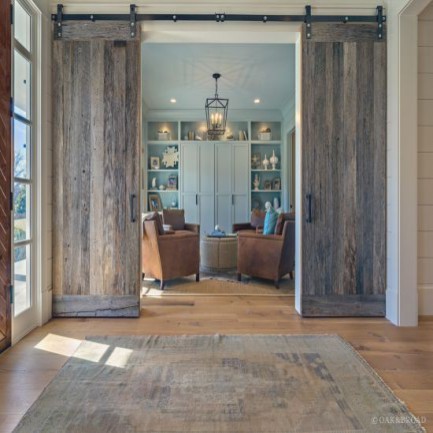
Wooden sliding doors are one of the best solutions, for you to have a nice classic look for your door, and to save a lot of space, not having to give the space needed for a normal door to open and to close.
Below are steps to install the wooden sliding doors
Step 1. Take the flathead screwdriver and the hammer and split the hinges of the old door. Start from the bottom and work your way towards the top, Don’t forget to remove all the hinges, use the drill and the Phillips screw tip.
Step 2. Using the utility knife, mark out the line of the caulk where the wall meets the door trim ; after you remove the door trim, you must remove the door frame, and you can do that by hammering down the flathead screwdriver between the door frame and the trim, be careful of the nails that keep the trim in place. After you did that remove the nails or screws that keep the door frame attached to the wall framing.
Step 3. You must know on which side of the door frame you will install the pocket for the wooden sliding doors. Take the measurements to make sure you have enough space where you can fit the pocket, make the markings with carpenter’s pencil, and start sawing off from the door opening, be careful of wires that might be in the wall.
Step 4. Start removing the drywall from both sides of the wall in order for you to start the proper installation of your pocket for the wooden sliding doors.
Step 5. Cut down the floor with the reciprocating saw to make room for the wooden sliding doors and after that use the combination square to extend the line between the floor and up to the sill plate. Do not forget to remove each stud from the lower portion of the old door frame.
Step 6. Install the wooden sliding door frame by placing the new studs and securing them with the screw, it would be advised to put them with 24 inches space in between.
Step 7. Installing the pocket for the wooden sliding doors will take a little bit more time because you must pay attention to install it properly. First, secure it on the vertical sides, then measure the level of the door frame, after that screw in place the header to the top of the door frame.
Step 8. Secure the pocket for the wooden sliding doors with drywall, and secure it in place with 1 1/4 inch screws, specific for drywalls. Follow the instruction of the manufacturer.
Step 9. After you finished with the drywall, you must put in place the door trim, in order for you to finish the installation of the wooden sliding doors.